to move the temp Brugmansia House over to where the old greenhouse was to make things work for a few more years in order to save. I knew I wanted Poly instead of the snap and grow kits and came across this site and saw they were out of the size I wanted so I found one on Sears. It came from the same company and a little more $$ but well worth it.
http://earthcaregreenhouses.com/earthcare-wholesale-greenhouses
Showed DH and he agreed it was will within our budget price and he went ahead and ordered it the next day. We started to dismantle the old greenhouse and haul it out of here. While doing this there was talk about finishing the electrical we started two years ago so I called the electrician, Larry from Absolute Electric Inc. Two years ago we had the electrical updated on the house and a line put in to the north of the
house to run electrical to the Brug House. So what we had done this time was a new line to both the new greenhouse and to the Brug House with a shut off switch so when not in use they could be shut down. Current electrical is important so we also had GIF put into to all the outlets. So with the old greenhouse gone we started digging the ditch for the new line!
As you can see it was pretty bad at the base and nothing could be done to save it. The fiberglass was starting to go as we knew the structure was older than I was when we got it from the folks' farm. Hated to see her go and don't get me wrong she was an awesome greenhouse but she was past her prime. To rebuild her was going to cost an arm and leg.


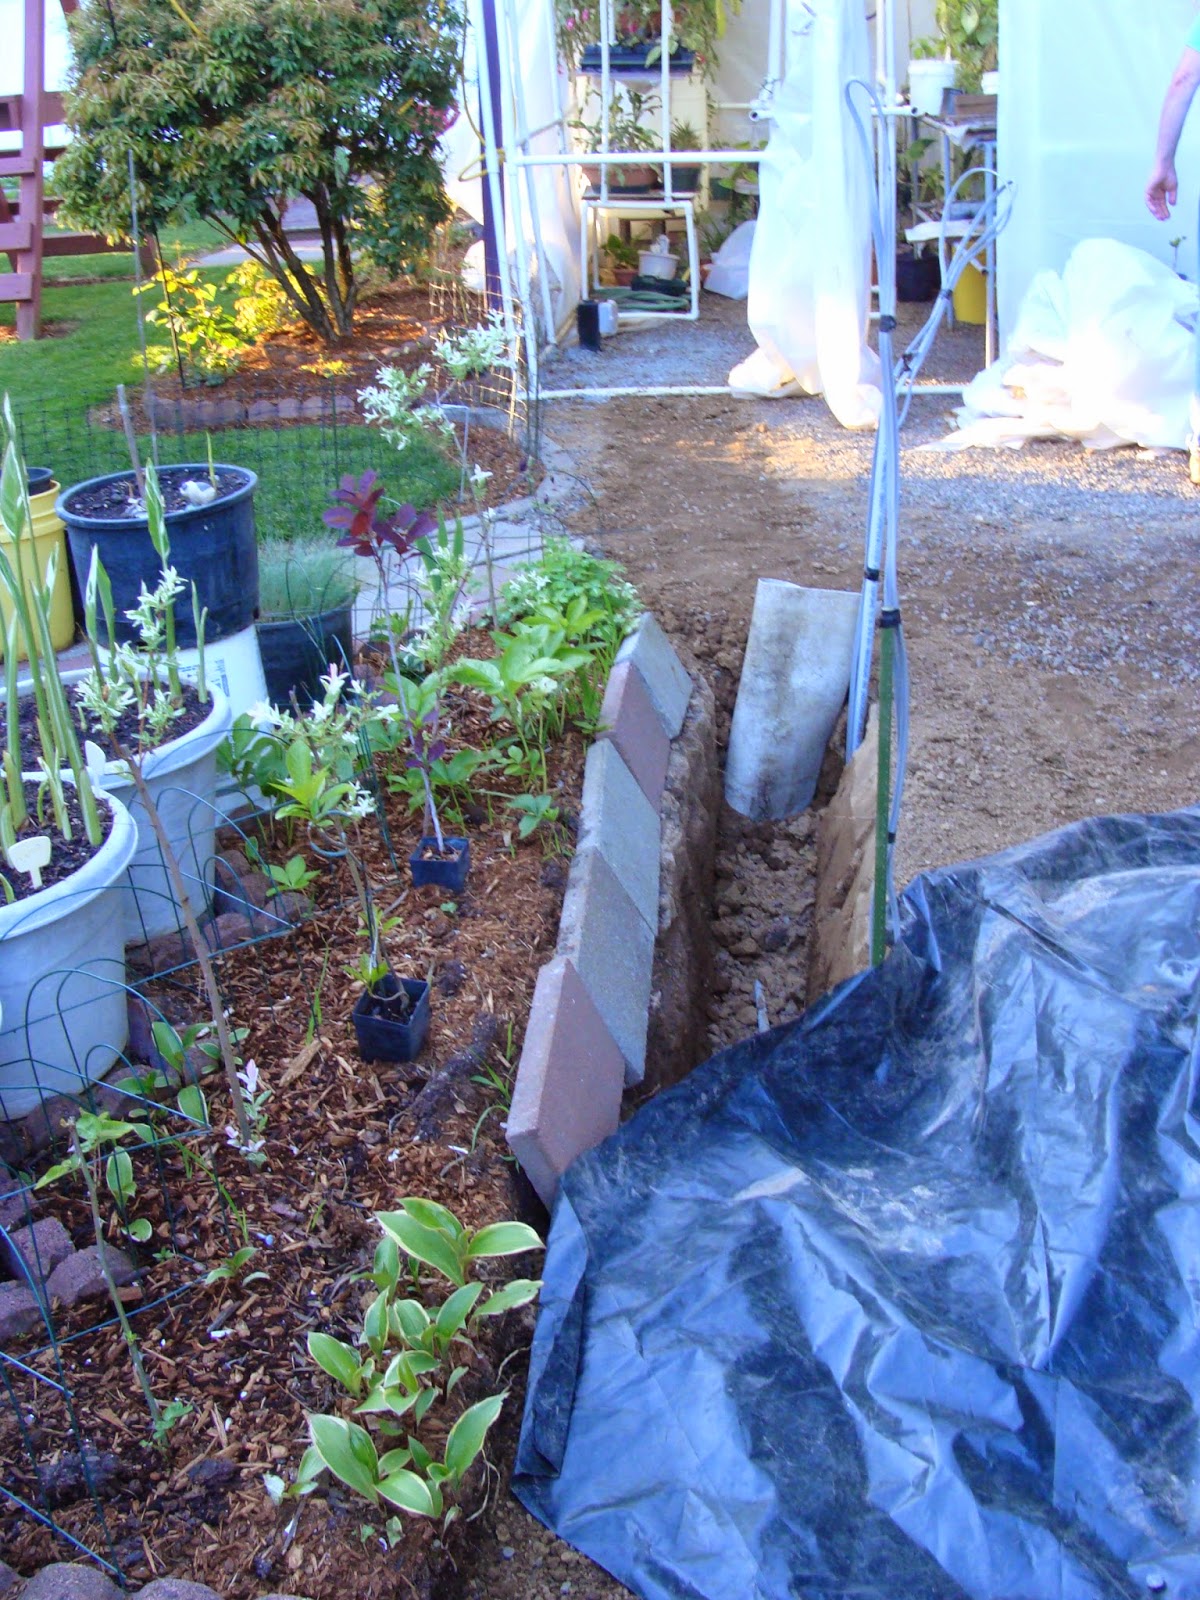
With the green house cleared it was time to dig the ditch!

You can see the old electrical line and it really needed to be updated.


The greenhouse arrived and I was so glad to have the classic car out of the garage to allow me to put the greenhouse together in a cleaner environment.
After reading the manual 4 times to make sure I knew what to do I started laying out the parts per each sections due to my DH threw up his hands after seeing what was laying out in the garage. The kit comes with tools to put the kit together, only tool I found needed was a putty knife to slide the poly in place.
I decided not to take all the parts out and count but would do them with each section as I put it together, that way nothing would be lost. Beings I would be on my own I thought of ways to help myself put this together as I worked on this after my daily chords were completed. DH was at work!!

All the poly out of the box and the parts laid out per the sections. Next it was time to tackle the first section per the manual which was the back of the greenhouse panel. Half way done in this photo!

While doing the top sections I hit a snag with the top frame and sent off an email with photos to the supplier for some technical support and let me tell you the guy was so helpful!! Love their tech/shipper as they went beyond the call of duty to make sure this was a great product. I would highly recommend this company. They got back to me really fast and I was able to get this completed and the doors before having to set it aside and help DH on getting the gravel foundation ready. Beside I also found out that the kit comes with a base if one isn't going to attach it to a decking of some sorts. The base kit is sold separately and is used for setting the greenhouse on the ground, so we ordered that. Super fast shipping from LA so give them time to also get to us out here in the PNW.


Getting them tucked away so I could work outside on the foundation. 3 yards of driveway gravel was ordered and we had to go pick it up, plus shovel it into place!

But the electrical needed to be completed and inspected!! Love the guys at the WA State Inspection division whom worked really fast with out Electrician to get this all completed in a timely manner! We started this process in mid April and my goal was to have this up and running before out open house in mid May!


 '
'
Line completed and inspection approved by the end of April, we were on a roll!!


First inspection completed and we could fill in what was done, needed two inspections. The Brug House now has juice to it which was important and the shut off switches by the new greenhouse were important to me to be able to shut either one off when not in use.

Adding a new pathway to the south of the greenhouse was important this time as we were tired of having to go around the greenhouse to come to the back door so we wanted a raised pathway, got to love cement blocks, as it made it the right height and tied into what was already there.

The gravel base was next now that the lines are in and the second inspection passed!

Next came the wooden base and the base for the kit to sit on the wooden base.


Plus we added the metal frame that you can order with the kit. After getting that done we decided that the electrical boxes needed support so a board was added. The small box by the cement blocks is a shut off for both the new greenhouse and the Brugmansia House to the north.
Starting to build upwards!! So sorry I didn't take photos until this point but I hand my hands full!!
Do not do this by yourself, it can be done but not advised and make sure there is no wind or you will
be sailing in the wind. You see the two ladders, that is what I used instead of having help. Placed the ladders on either side of the front planel and I had did the same for the back panel only they were shorter ladders. I can tell you after several attempt I did get the side fame (L07) bars in place and was able to start putting up the Y6 poly panels. The covers didn't come off until everything was in place and boy did it look sharp. Looking great to this point!


My husband came home from work and his statement was, "You didn't need my help!"
I'm sure the guys at the greenhouse place would thought his old gal was nuts as many times as I emailed them for help. The next photo shows the lip that kept hanging me up when putting in the poly panels but with the help from a putty knife I was able to get them to slide into place with ease.


Top poly panels going in place!!


May 7th as you can see I'm taking my time on doing this and now have the Y8 poly panels in place!
But I need to get the lead out and finish this project by the time we have our annual sale and garden tours!!
May 9th as you can see it moving right along only a few minor problems, nothing that the guys at the shop couldn't help out with and then Mother Nature decided that I needed to work in the rain!


May 10th was the day I tried to finish up but silly me tried to hard and tweeked the last window and then went to pound it and kind of couldn't make it work. So a panic sent in this wouldn't be done in time so I hurried in to get a hold of the guys again!! They saved my sorry soul and sent me out another part.
I really owe them big time!! They have the best customer service and were so helpful!! If they are ever in the area they can stop in and see for themselves how great their product is!!


Get a look at those great double doors!! Yes you can open just one if you would like.


Excellent window that adjust! On my old greenhouse I just had one window with a fan that I had to prop up with a piece of wood.


The bracket that gave me the most trouble and look it's in place!!


For the front we decided to put in a lower walkway and then had to decided what to do for the threshold for the doors. Yes the flock of pink birds flew in over night!


I really miss my fan that was in the old greenhouse that pulled the hot air out but with four lovely windows I have only had to run the fan at night if I completely close it up. I have yet to put the rubber J05 around the base of the frame or caulk the top set of poly panels to make sure it doesn't allow water to come in when we have downpours of rain. Later in the fall I'll do so. Love the gutters, too!! I also got extra W05, latch hooks for the base, I sure wanted it to be as secure as I could get it. Let me also add this is not a permanent structure, it will go with us when we do decided to move. The spot is RV parking so the electrical will stay and be an added bonus for the next owners.
All done and ready for the sale and tour that weekend. What a great weekend and we had over 200 folks tour our gardens with lots of interest in the greenhouse.


End of May I moved the Ludger Project into the greenhouse until it warmed up enough to move the test collection out to the west circle bed. A big thank you to the folks at Sears for offering this great greenhouse and the guy at:
for supplying this to Sears but one can order it direct from their site. The reason we ordered from Sears is we didn't find the size we wanted at their site but Sears came up.
All that is left is to watch the flowers grow!! Hope you enjoyed this little adventure.


